Let's cut to the chase. This peanut butter and fluff fudge is the easiest, most foolproof dessert you'll make this year. It requires zero baking, no candy thermometer, and comes together in about 10 minutes of active work. The secret weapon? A jar of Marshmallow Fluff. It gives you that iconic, creamy, melt-in-your-mouth texture without the fuss of traditional fudge-making. I've been making this for over a decade for bake sales, holiday gifts, and last-minute potlucks, and it never fails to disappear first.
What's Inside This Guide
Why This Marshmallow Fluff Recipe Actually Works
Most traditional fudge recipes are finicky. They demand precise temperatures (the dreaded "soft-ball stage"), constant stirring, and even then, they can grain up or refuse to set. This recipe sidesteps all that. The Marshmallow Fluff acts as a stabilizer and provides the structure. When melted with butter and peanut butter, it creates a smooth base. Adding powdered sugar then thickens it to the perfect fudge consistency. It's essentially a controlled, sweetened peanut butter play-dough that sets into something magical.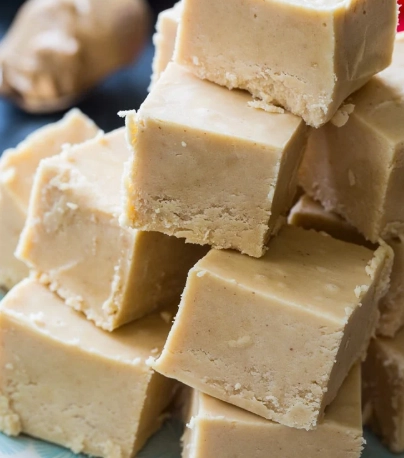
The beauty is in its simplicity and reliability. You're not making candy from scratch; you're assembling it. This makes it perfect for cooking with kids or for when you need a guaranteed win.
The Ingredients: More Important Than You Think
You only need five core ingredients. But the brand and type you choose matter more than you'd expect for the final texture and taste.
| Ingredient | Quantity | Purpose & Pro-Tip |
|---|---|---|
| Unsalted Butter | 1/2 cup (1 stick) | Provides richness and helps the mixture melt smoothly. Must be unsalted to control sweetness. |
| Creamy Peanut Butter | 1 cup | The star. Use a standard, shelf-stable brand like Jif or Skippy. "Natural" peanut butter (the kind with oil on top) will make your fudge oily and prevent it from setting properly. |
| Marshmallow Fluff (or Creme) | One 7-ounce jar (about 1 3/4 cups) | The key to the texture. This is non-negotiable. Don't substitute with mini marshmallows unless you want a different, chewier result. |
| Pure Vanilla Extract | 1 teaspoon | Enhances all the flavors. Imitation vanilla will give it a slightly artificial aftertaste. |
| Powdered Sugar (Confectioners' Sugar) | 3 1/2 to 4 cups, sifted | Thickens and sweetens. Sifting is crucial to avoid lumps. Start with 3 1/2 cups and add more if needed. |
The 10-Minute Step-by-Step Process
Here's the play-by-play. Have everything measured and ready before you turn on the stove (this is called mise en place).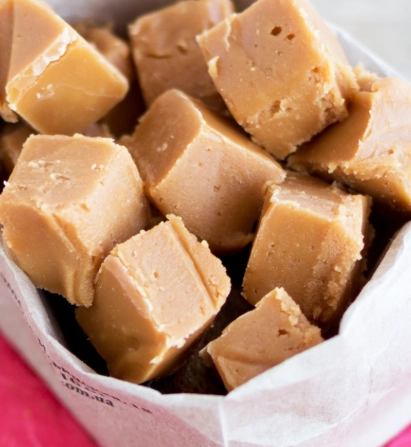
Step 1: The Melt
Grab a large, heavy-bottomed saucepan. Combine the butter, peanut butter, and the entire jar of Marshmallow Fluff. Heat this over medium-low heat. You're not trying to boil it, just melt it together into a smooth, homogeneous mixture. Stir constantly with a wooden spoon or silicone spatula. This should take about 4-5 minutes. Once it's completely blended and just starting to bubble at the edges, remove it from the heat.
Step 2: The Mix
Stir in the vanilla extract. Now, start adding the sifted powdered sugar, about one cup at a time. After the first two cups, the mixture will be loose. By the third cup, it will start to pull away from the sides of the pan and become difficult to stir. This is good! This is the "fudge stage." If it still seems very soft or sticky, add the remaining half cup of sugar. The goal is a thick, pliable dough that doesn't stick to your fingers when you touch a cooled bit.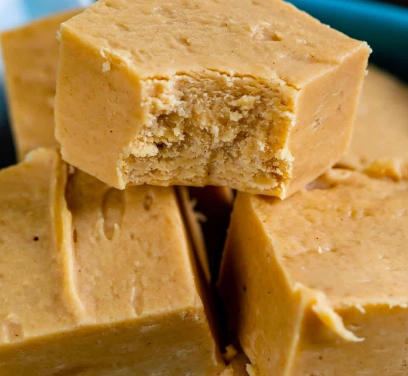
Step 3: The Set
Immediately press the warm fudge mixture into a prepared 8x8 or 9x9 inch pan. I line mine with parchment paper, leaving an overhang on two sides. This creates a sling that lets you lift the whole block of fudge out for easy cutting. Press it down firmly and evenly with your hands or the bottom of a glass. Let it cool at room temperature for at least 2 hours. Do not refrigerate it to speed this up—that can cause condensation and make the top sticky.
Step 4: The Cut
Once completely cool and firm, use the parchment paper to lift the fudge slab out. Place it on a cutting board. For clean squares, warm a large, sharp knife under hot water, wipe it dry, and make one decisive cut. Wipe the blade and re-warm it between cuts. Aim for about 1-inch squares. This recipe yields 36 to 64 pieces, depending on your cut size.
Expert Tips and Common Mistakes to Avoid
After making hundreds of batches, here are the subtle things that separate good fudge from great fudge.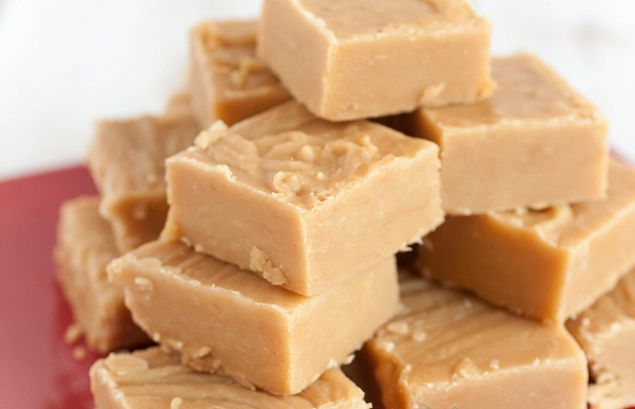
- Heat Control is Everything: Medium-low heat. Not medium, not high. Too much heat can scorch the peanut butter or cause the sugar in the Fluff to crystallize, giving you a grainy texture.
- Stirring Vigor: Stir constantly during the melting phase. This isn't a passive step. You're ensuring even heat distribution and preventing any ingredient from sticking and burning on the bottom.
- The Sugar Sweet Spot: The exact amount of powdered sugar can vary based on your peanut butter brand, humidity, and how much you cooked the base. The mixture is ready when it's no longer glossy and wet-looking, but matte and stiff. It should cleanly pull away from the saucepan.
- Patience in Setting: Let it set at room temperature. Rushing it in the fridge is the number one reason people end up with sweaty, sticky fudge tops.
The biggest mistake I see? Using the wrong peanut butter. It bears repeating.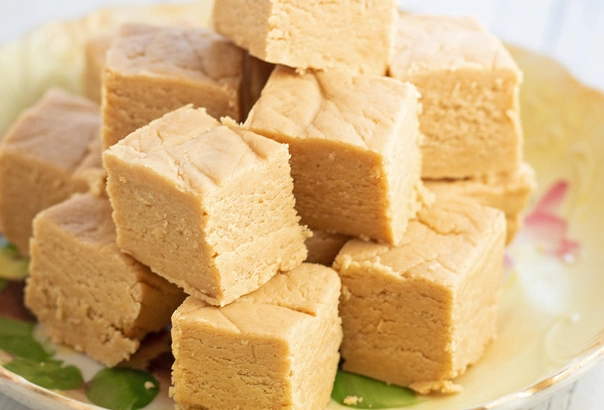
Variations and Creative Twists
The basic recipe is a blank canvas. Once you've mastered it, try these.
Chocolate Swirl: Melt 1 cup of semi-sweet chocolate chips with 1 tablespoon of butter. After pressing half the peanut butter fudge into the pan, drizzle half the chocolate over it. Gently spread the remaining fudge on top, then swirl the rest of the chocolate over the surface with a knife.
Crunchy Add-Ins: Stir in 1 cup of crushed pretzels, roasted peanuts, or even crumbled bacon (trust me) right before pressing into the pan. The salt contrast is incredible.
Nutella Layer: Press the peanut butter fudge into the pan. Warm 3/4 cup of Nutella for 20 seconds in the microwave, then spread it evenly over the top. Let it set.
"Rocky Road": Fold in 1/2 cup of mini marshmallows and 1/2 cup of chopped walnuts along with the powdered sugar.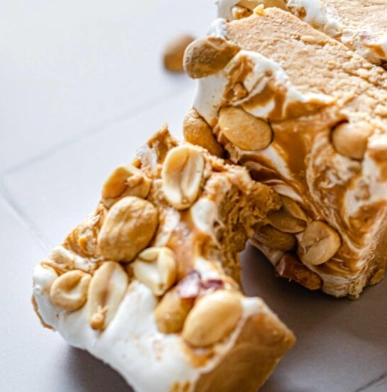
Storing, Serving, and Gifting Your Fudge
This fudge stores beautifully. Layer pieces between sheets of parchment or wax paper in an airtight container. It keeps at room temperature in a cool place for up to 2 weeks. You can refrigerate it for a firmer texture for up to 3 weeks, or freeze it for 3 months. Thaw frozen fudge in the container at room temperature to prevent condensation.
For gifting, use small decorative tins or cardboard boxes with dividers. A little goes a long way—it's rich. Pair it with a bag of good coffee or a nice bottle of port. It's a homemade gift that looks and tastes far more impressive than the effort required.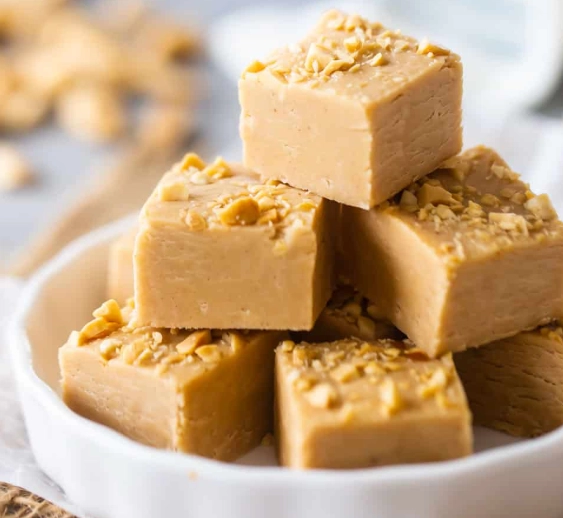
Reader Comments